What size countertop vape display should you order?
Start with the maximum width, depth and height the store can spare. Measure the retail packs in their display orientation. Use those measurements to plan the number of front-facing positions and packs behind each one. Then check the space staff need to take packs out and refill the stand.
Measure the counter with everything in place
Take a front photo and a side photo of the intended spot. Mark the area available for the fixture after allowing for the till, card terminal, nearby signs and any work surface that staff need to keep clear.
- Width. Measure the uninterrupted span between neighbouring equipment at the point where the fixture will sit.
- Depth. Measure the supported, flat area from front to back. Check for raised edges and leave room for any rear cable or plug.
- Height. Include the header or sign in the total. Check the nearest overhead shelf and the sightline across the counter.
- Space in use. Mark where hands, doors or trays need to move during a refill. For a rear-loading unit, check staff access with the unit against its usual neighbours.
For a rollout, measure the tightest intended location. If the stores differ substantially, compare two fixture sizes or test a common size with different shelf inserts.
Measure the packaging the shelf will hold
Use the finished retail pack and record width, depth and height in the orientation it will sit. Include protruding tabs or other packaging features that affect fit. A boxed product, a bottle and a round tin can each use the same shelf space differently. For a round pack, record its diameter and thickness and note whether it sits flat or upright.
List one row per distinct pack size. Add the SKU count, desired facings and units behind each facing. A facing is one visible position across the front. For mixed products, note which SKUs share a shelf and flag any packaging dimensions still being finalised.
GS1 provides a common reference for recording packaging dimensions. For fixture design, send a photo showing the intended orientation as well. GS1 Package and Product Measurement Standard
Estimate shelf capacity from the usable space
Ask for both outside dimensions and clear dimensions at each shelf. Side panels, front lips, dividers and doors take up space. A supplier’s published specification can show how this distinction is documented. UK POS countertop display specifications
| Input | Example | Result |
|---|---|---|
| Finished pack, W × D × H | 32 × 28 × 100 mm | About 1.26 × 1.10 × 3.94 in |
| Usable shelf width | 285 mm with an assumed 35 mm pitch per facing, including divider and side clearance | 8 full facings |
| Usable shelf depth | 115 mm with an assumed 30 mm of depth per pack | 3 packs deep |
| Total stock | 8 facings × 3 packs deep × 2 shelves | 48 packs across 16 visible positions |
Round down to full positions. Subtract any space reserved for hardware or refill access before calculating. For mixed pack widths, add up each lane’s required width. Measure the clear opening above the pack and test the motion needed to lift it past the shelf lip. Confirm the actual capacity with loaded samples.
Choose a layout staff can refill
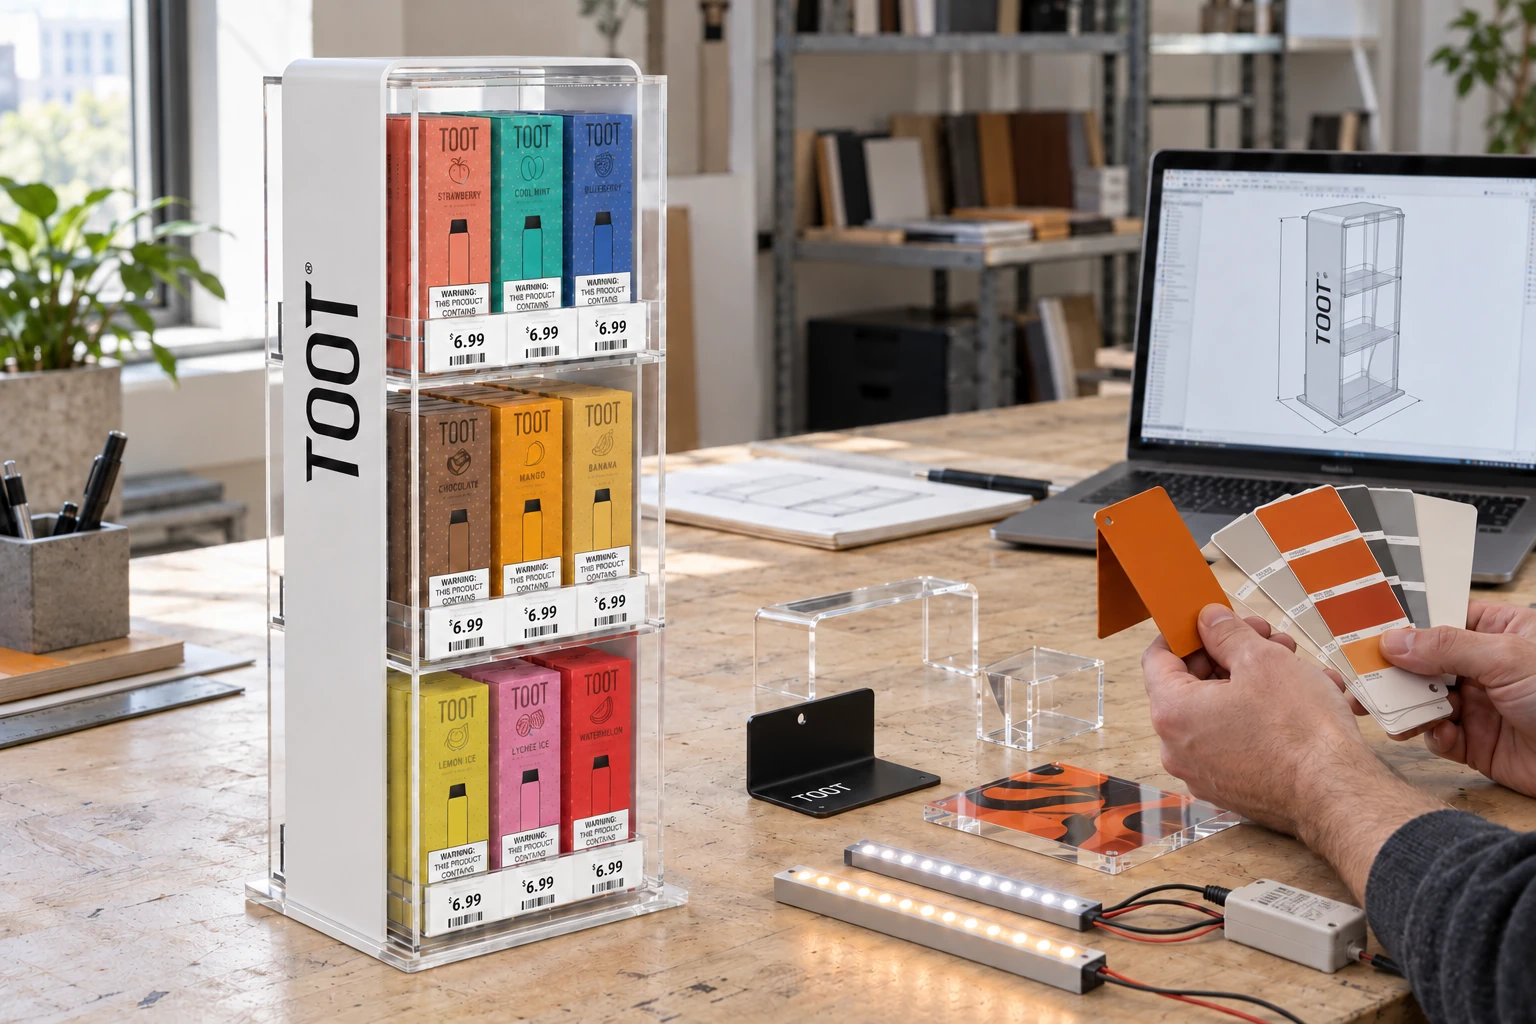
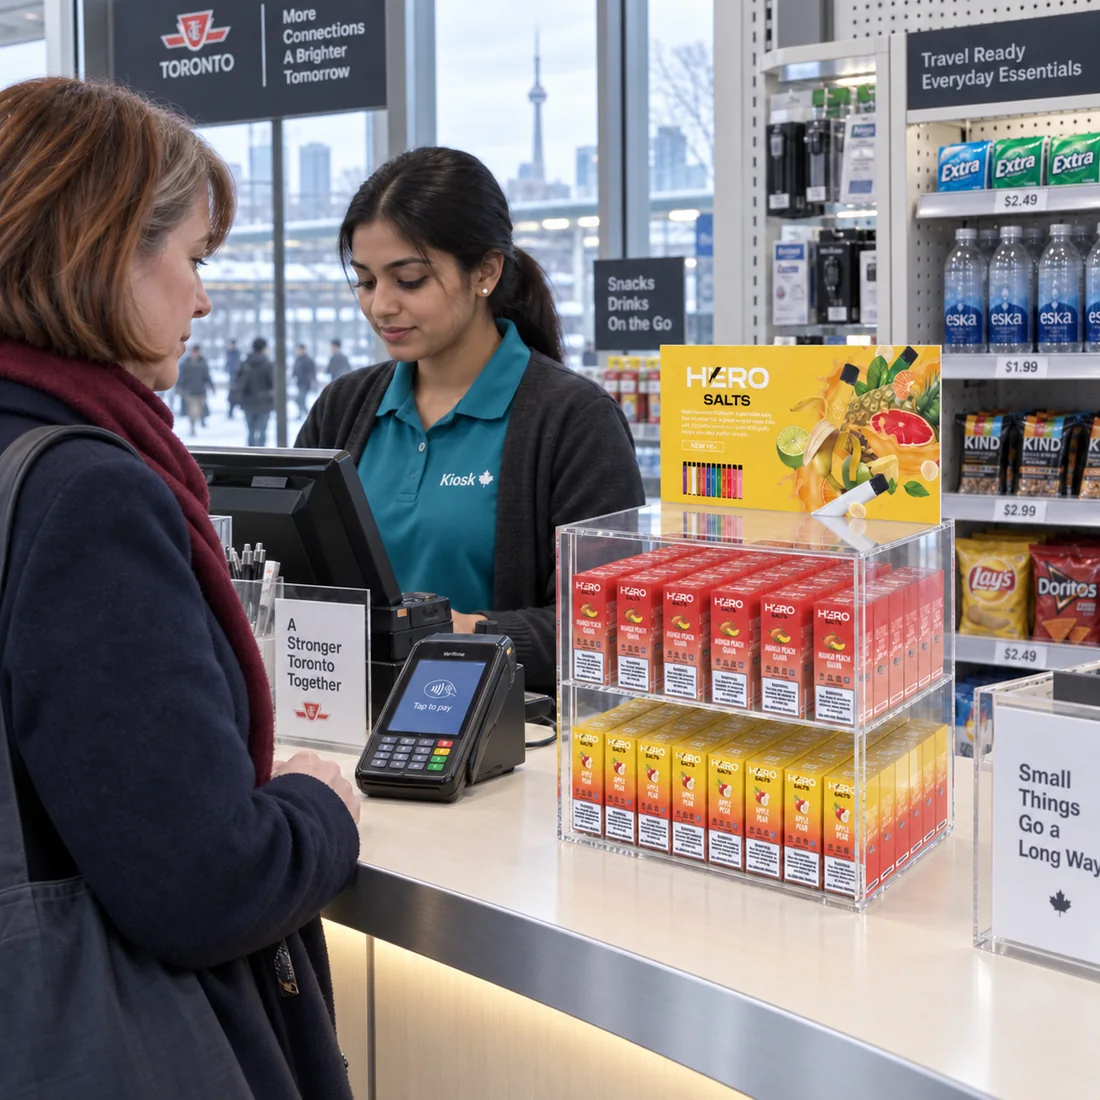
A low stepped stand can suit a position with limited height. A narrow upright stand can use several levels where width is tight and height is available. If several box sizes share one shelf, removable dividers can make future pack changes easier. Compare footprints in the countertop display range and compare shelf layouts in the three-tier upright acrylic example.
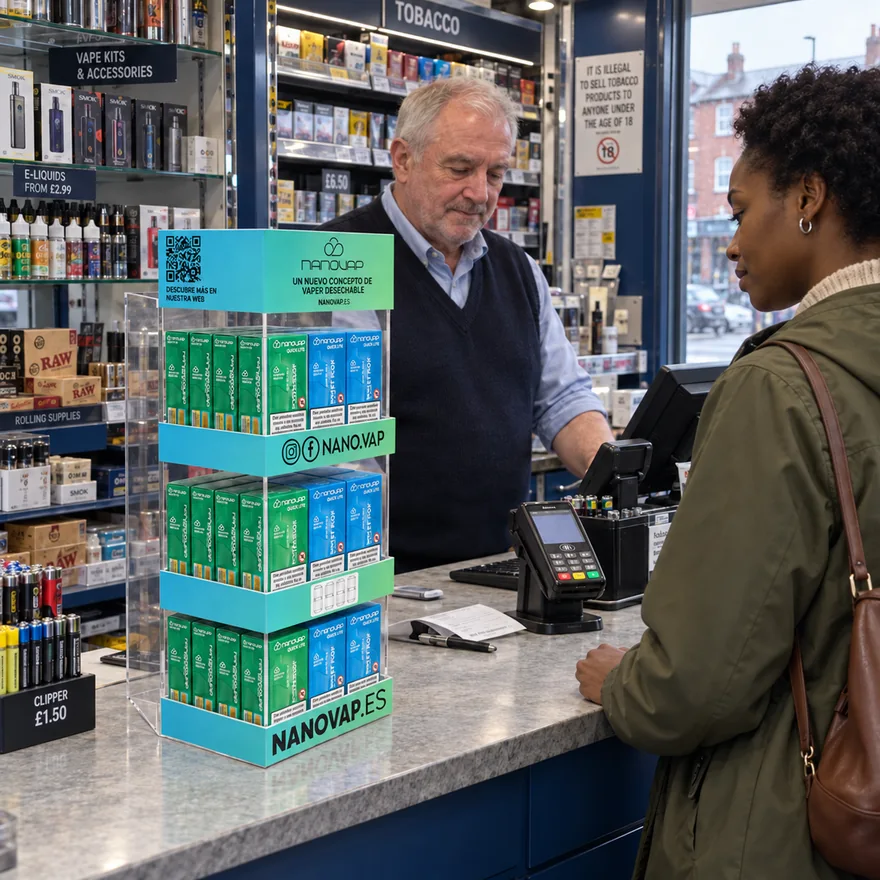
For a cabinet, ask which side opens and how far the door or tray extends. For an illuminated display, mark the power outlet and cable route before fixing the depth. If the drawing only shows a front view, request a side or top view with the open position indicated.
Check the sample with a full load
What to verify before approving the fixture
- Set it on the intended counter or mark the same footprint on a test surface. Check that the full base is supported.
- Load the agreed SKUs at their planned capacity and confirm each lane fits its pack.
- Remove the front pack and refill each shelf using the access available in store. Repeat with the tallest or widest pack.
- Check how the loaded unit sits and feels during normal use. Confirm the intended load, relevant hardware and any fixing requirements with the supplier.
- Record the approved footprint, clear shelf sizes and layout drawing. Confirm packed dimensions separately if carton size affects shipping or storage.
For your first enquiry, send a marked counter photo, the maximum fixture size, a pack list and the side staff will use for refills. Add the required capacity and quantity. The custom display brief checklist covers artwork, sampling and packing when those details are ready.